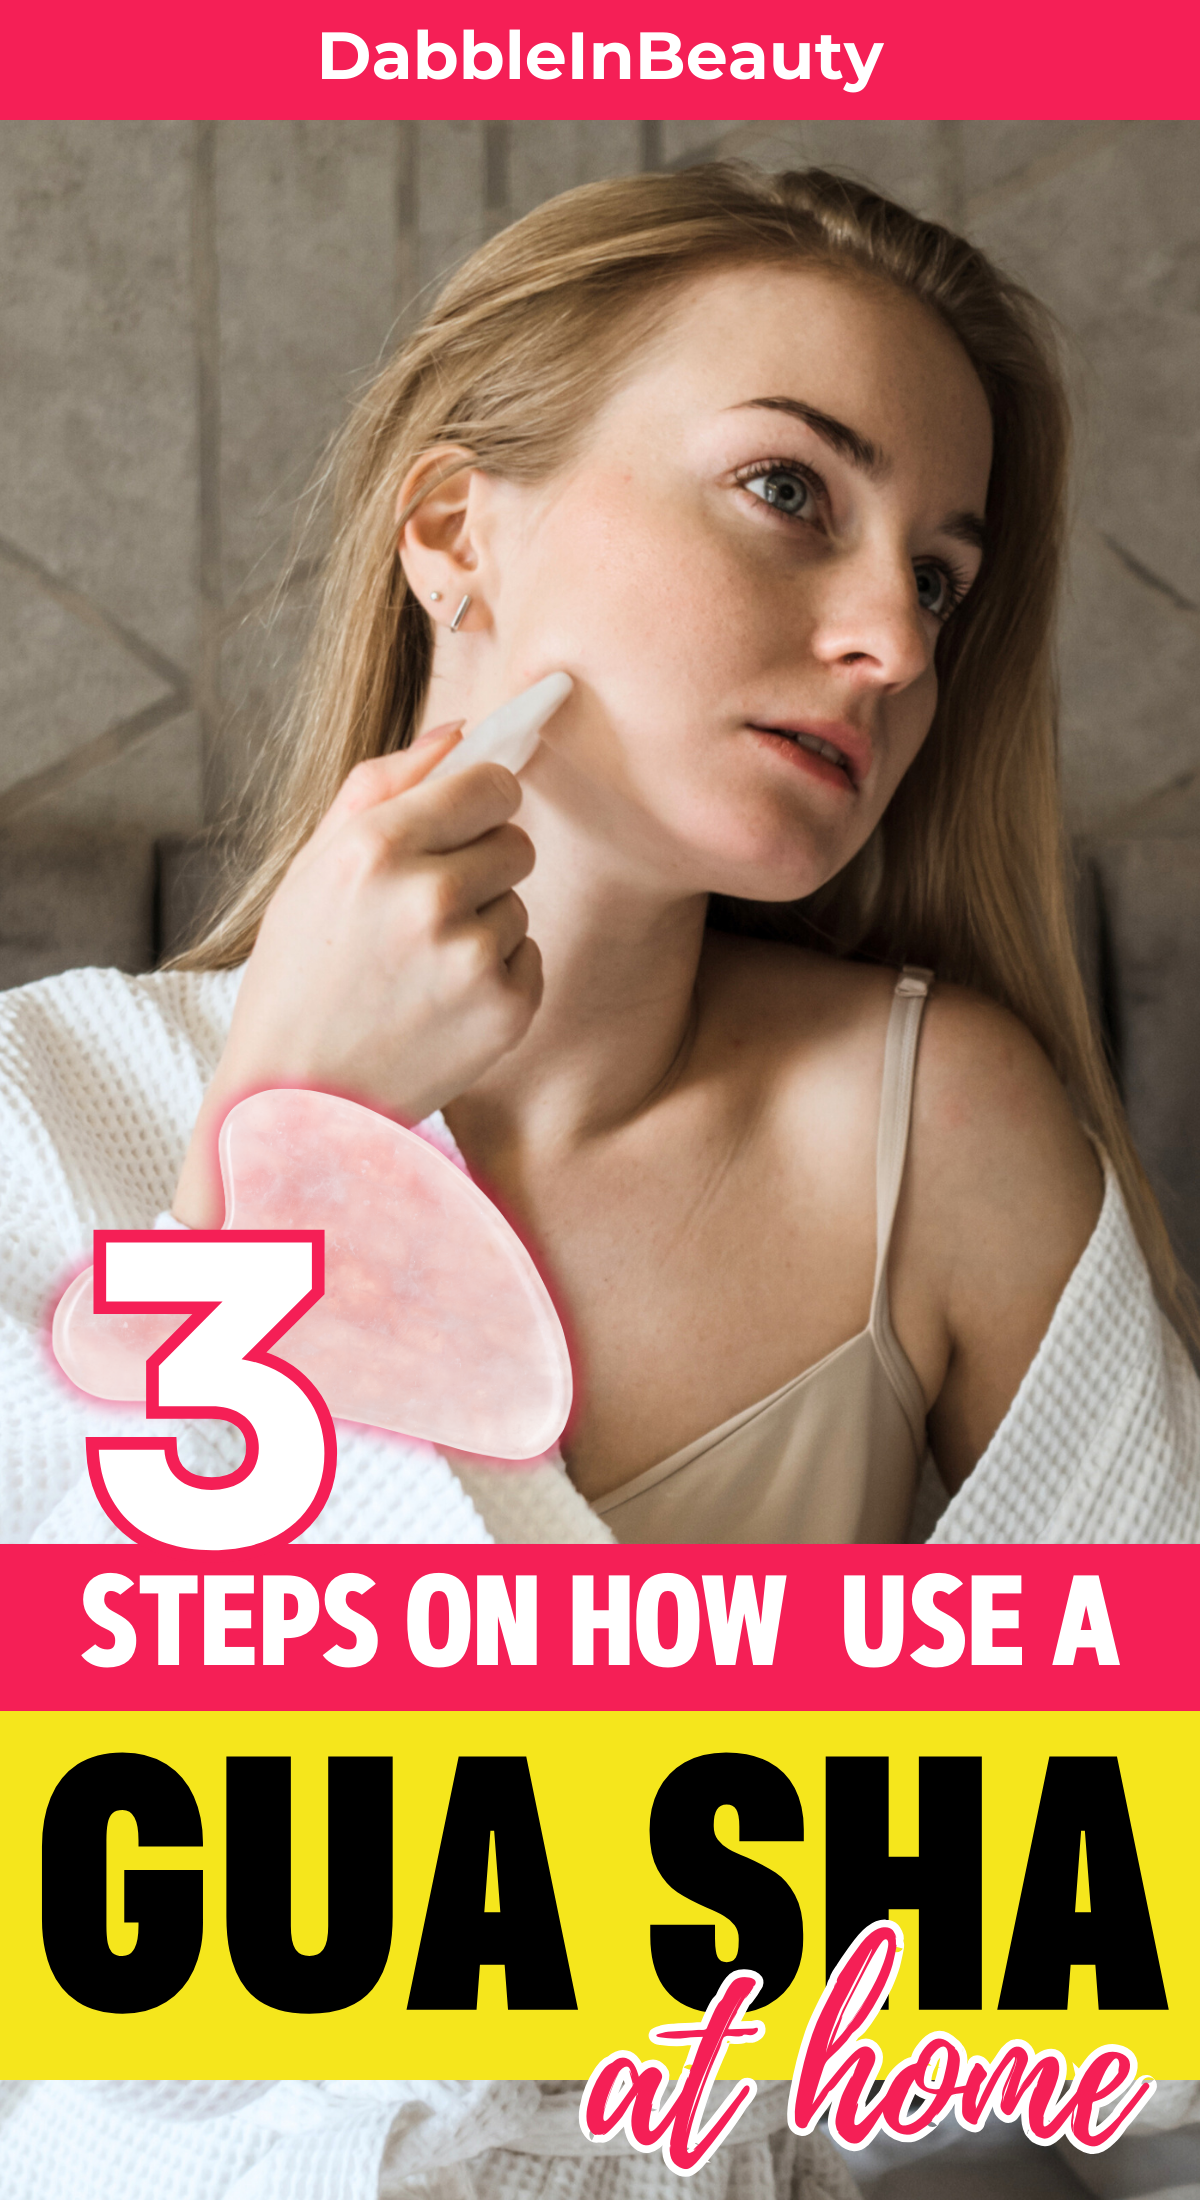
If you are a beauty enthusiast, you must be no stranger to the famous beauty tool in town – the Gua Sha.
It might feel like this is just another ludicrous trend that has encaptured the beauty community with its too-good-to-be-true claims. However, this is anything but that.
Keep scrolling if you are interested in an oh-so-chiselled face without going under the knife, or skip if you’re naturally blessed in the department.
First and foremost, what is a Gua Sha?
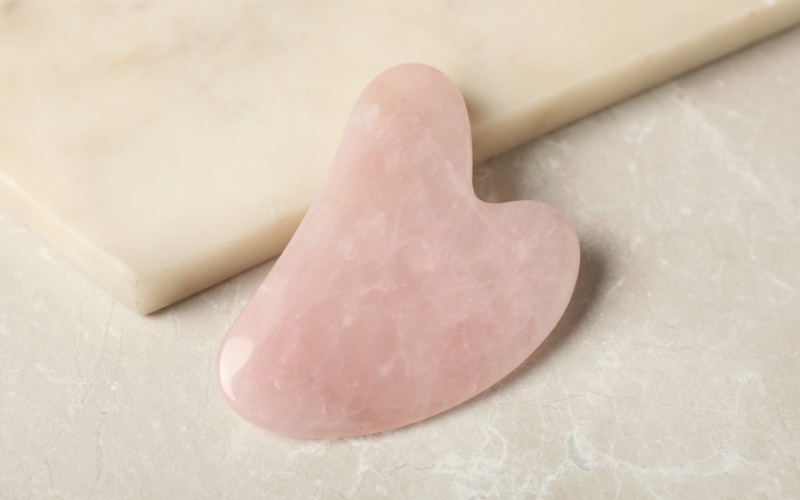
Face massaging has been a dominant beauty technique for centuries and a Gua Sha is one of the tools used for the purpose.
Despite its sudden popularity in recent years, the Gua Sha is not a new beauty tool. It has been here for quite many years; centuries to be exact. Made of semi-precious stones, Gua Sha comes in various shapes and sizes depending on its purpose.
Commonly used Gua Sha stones are Jade and Obsidian. Jade is famous for its healing and calming properties while Obsidian reduces tension and stimulates growth. When used on the skin, one can only imagine all the benefits these stones can impart!
Why Should I Use a Gua Sha?
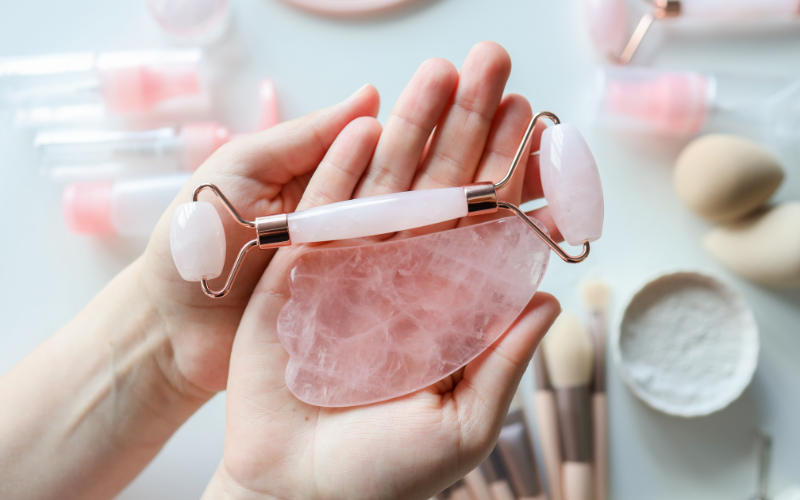
If you enjoy a swollen, puffy, acne-ridden face, then by no means use a Gua Sha. But, if you desire a wrinkle-free, smooth, clear, glowing, and naturally contoured face, Gua Sha will prove to be your next best purchase.
Massaging your face with Gua Sha helps with lymphatic drainage and also stimulates muscle movement. This leads to tightened skin and less incidence of wrinkles and fine lines, leading to a naturally contoured face. Not to forget how relaxing and soothing the whole process is.
All you need to do is follow these steps and enjoy the benefits of Gua Sha at home.
Step 1: Cleanse Your Face.
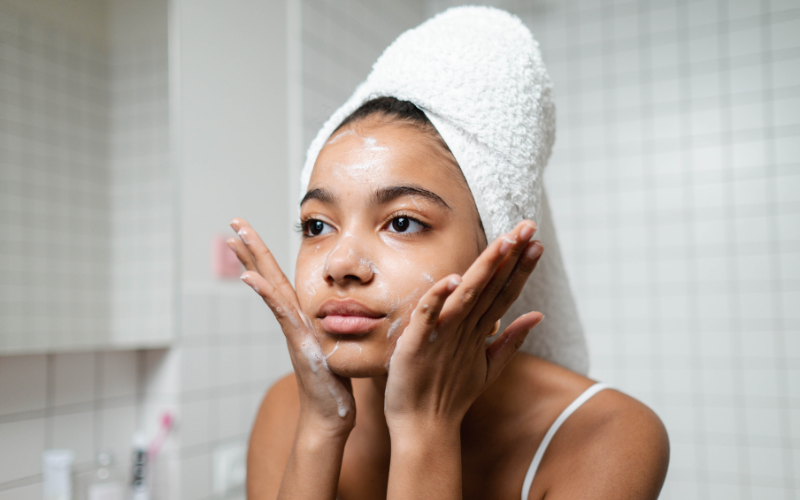
The first step to any massage therapy is cleansing the face, a Gua Sha is no exception.
Remove your makeup and wash your face with the cleanser of your choice. Follow with a toner. Also, make sure that your hands and the Gua Sha itself are clean. You don’t want to transfer dirt and bacteria to your face!
Pro tip: Keep the Gua Sha in the refrigerator for a few hours before using it for that extra cooling effect.
Step 2: Get Slick and Slippery
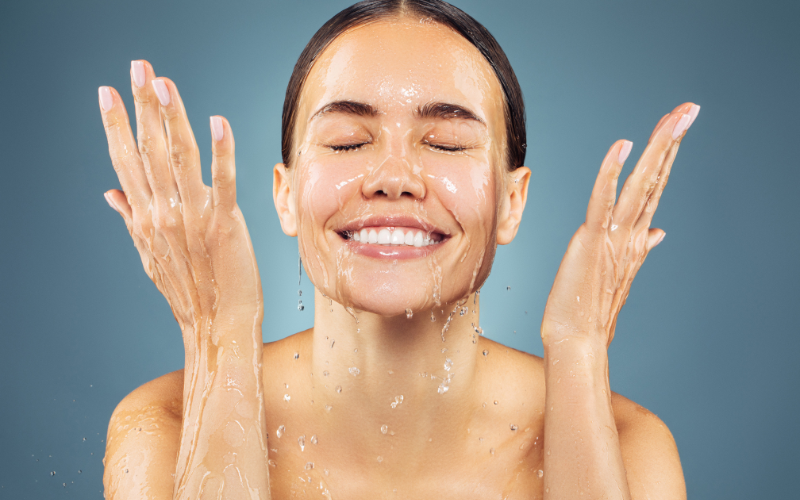
Next, apply a generous amount of moisturizer or facial oil. The oil reduces friction from the skin surface making the process smoother. The purpose is to make the Gua Sha glide on your skin and not drag across it.
Using a Gua Sha aggressively without any slip may generate friction and prevent the Gua Sha from doing its job. Thus leading to more harm than good.
Step 3: Techniques for Different Parts of Your Face
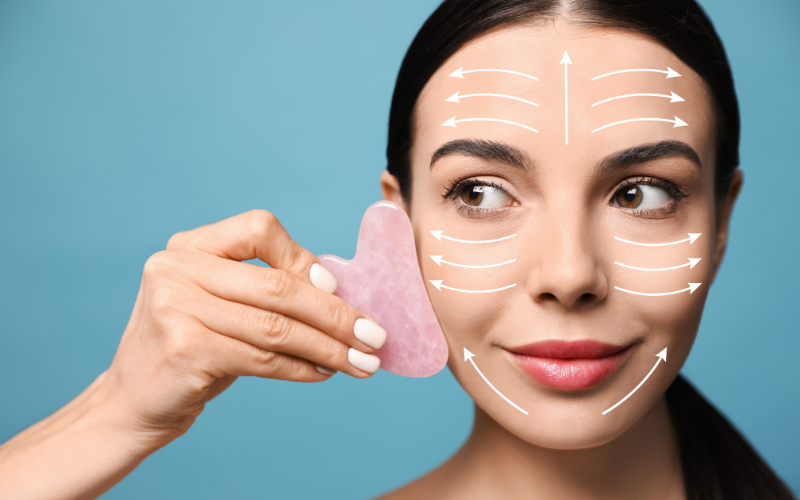
Here comes the fun part – a Gua Sha workout for your face!
Perfecting the Gua Sha technique is the most cardinal part of the whole process. It may not materialize immediately but practising it regularly will make you understand what works for you best.
A few rules that you need to abide by while using the Gua Sha.
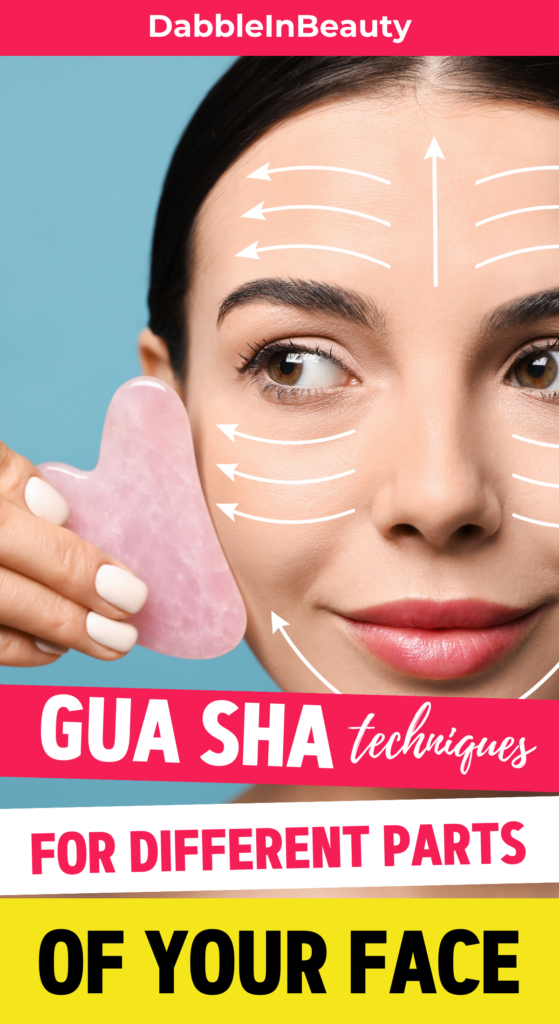
- Hold the Gua Sha at 30-45 degrees from the skin surface.
- Make sure that your strokes are gentle. This is supposed to be a relaxing process, hence your movements should be reposeful yet firm.
- Do not rub the Gua Sha haphazardly all over your face without any precise mapping. This can turn into a recipe for disaster as the unsystematic movement is going to stretch and irritate the skin.
Now, onto the massaging.
1) Neck
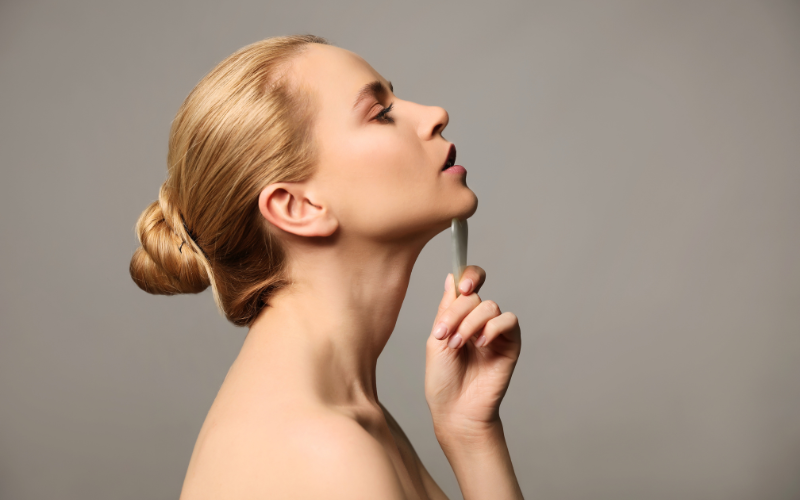
Glide the inward curved part of the Gua Sha tool from the collarbone towards the jawline. Apply a bit of pressure when you reach the jawline.
Do this step 5x on one side of the neck and then repeat it on the opposite side.
2) Cheeks
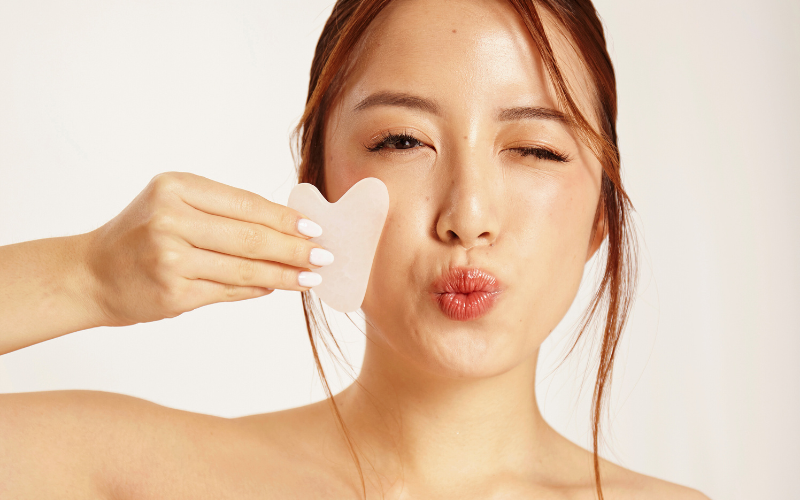
Use the longer and flatter end of the tool to give your cheek a perfect massage.
Hold the skin taut by placing your fingers just below the nose. Using a sweeping motion, drag the longer and flatter end of the Gua Sha tool along the natural contour of the cheeks till you reach the hairline. Repeat this step 5x on both sides.
3) Jawline and chin
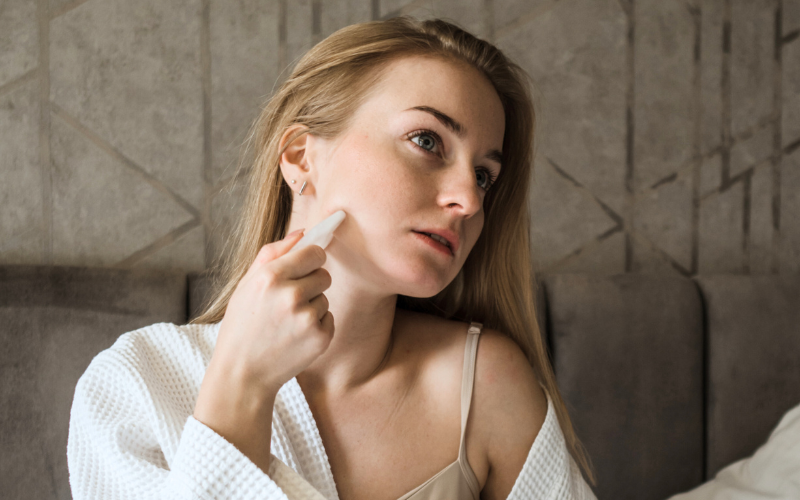
Place the “top of the love heart” part of the Gua Sha (the notched end) along your chin. Scrape the Gua Sha along your jawline till your ears using a firm but gentle hand. Repeat this step 5x on both sides.
Pro tip: for a plumping effect, drag the Gua Sha along your lips 5 times. Voila, you have naturally full lips!
4) Undereye
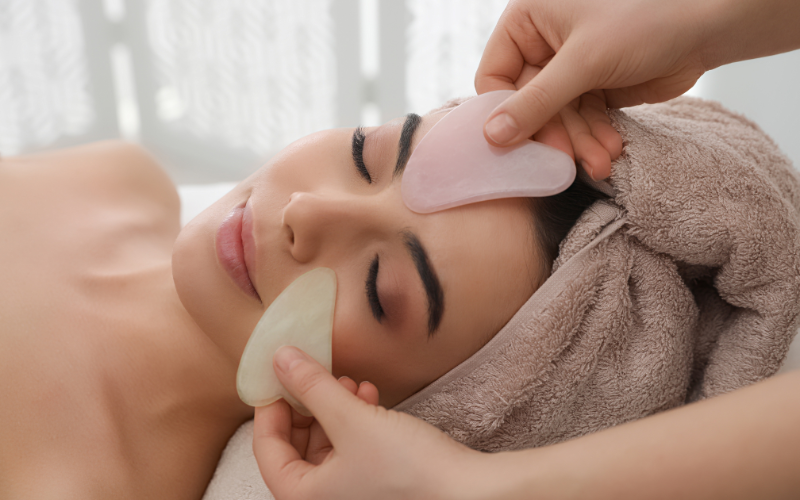
Place the curved, top part of the Gua Sha flat on the inner corner of the eye. Glide it outwards till you reach the temples.
This is the most sensitive part of your face so make sure that you apply the least pressure. Repeat this step 5x and then do the same on the opposite eye.
5) Eyebrows
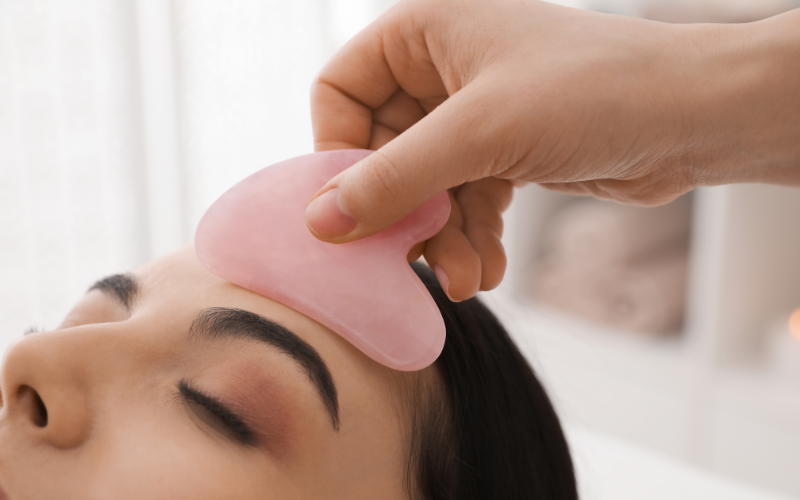
Place the notch of the Gua Sha against the eyebrows at a 45-degree angle. Sweep the Gua Sha across the eyebrows till you reach the hairline. Repeat 5x on both eyebrows.
6) Forehead
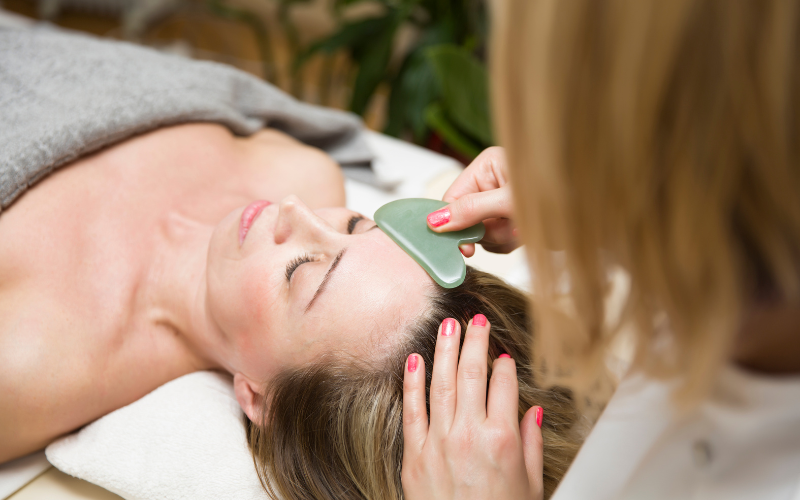
Hold your forehead taut by placing your fingers under your eyebrows and holding them firmly. Divide your forehead into 3 parts.
Place the longer flatter end of the Gua Sha just above your eyebrow and using a sweeping motion drag it upwards towards the hairline. Repeat 5 times in all 3 sections.
After you are done with the massage, complete the rest of your skincare and get on with your day (or night)!
Initially, schedule the Gua Sha massages for up to 2-3 times a week. Once your skin gets used to it, you may use the Gua Sha every day.
We hope you’re ready to welcome a wrinkle-less face that needs no contouring!
